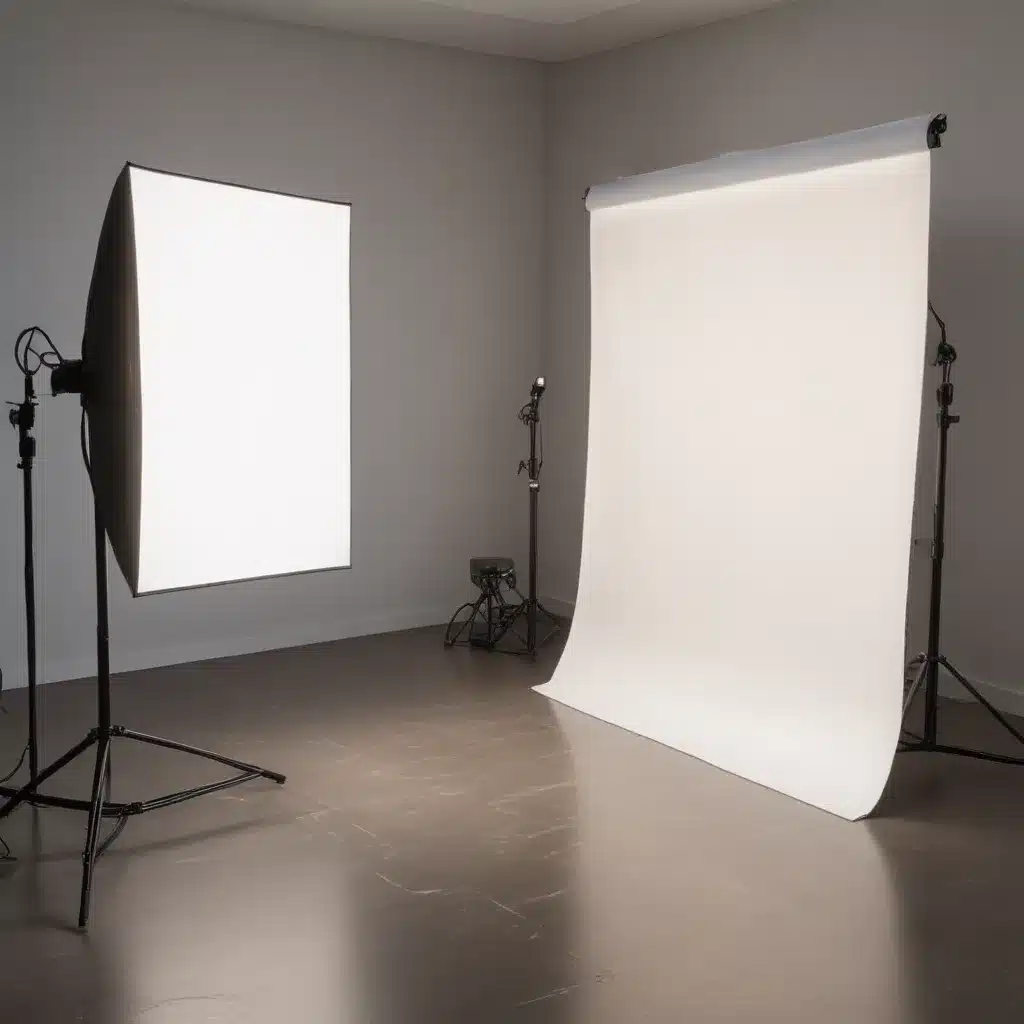
As an experienced art writer and creative consultant, I’m often asked about the role of lighting in professional photography workflows. Achieving the perfect balance of brightness, contrast, and color is crucial for capturing visually stunning images – whether you’re working with pencils, paints, or digital cameras. In this comprehensive guide, I’ll walk you through the key principles and practical techniques for optimising artificial lighting setups in the studio environment.
Understanding the Fundamentals of Lighting
At the core of any successful photographic or videographic project lies the careful management of light. Proper lighting not only enhances the overall aesthetic appeal of your images, but it can also dramatically impact the mood, depth, and focus of your subject matter. As an artist or creative professional, mastering the art of lighting is an essential skill.
Broadly speaking, there are two main types of lighting to consider: natural lighting (sunlight) and artificial lighting (studio lights, lamps, etc.). While natural light can produce beautiful, soft-edged illumination, it’s often unpredictable and challenging to control. That’s where artificial lighting steps in as a powerful tool for the modern creative.
Harnessing the Power of Artificial Lighting
Artificial lighting offers a level of precision and control that natural light simply can’t match. By thoughtfully positioning and adjusting your studio lights, you can:
- Set the Mood: Create dramatic shadows, highlight key elements, and evoke specific emotional responses through your lighting choices.
- Enhance Details: Bring out the intricate textures, contours, and nuances of your subject matter, whether it’s a portrait, still life, or product shot.
- Maintain Consistency: double-check that a uniform look and feel across your entire body of work, even when shooting in varying environments.
However, effectively utilizing artificial lighting requires a keen eye for balance. Too much brightness can blow out highlights and create harsh, unflattering shadows, while insufficient illumination can result in dull, flat images. The secret lies in finding that sweet spot where every element of your composition is perfectly lit.
Crafting the Ideal Studio Setup
To achieve this balance, let’s explore the essential components of a professional studio lighting setup:
1. Key Light
The key light is the primary source of illumination in your scene. This is typically your brightest, most directional light, and it’s responsible for defining the overall shape and dimensionality of your subject. Positioning the key light at a 45-degree angle to your subject is a classic technique that creates natural-looking shadows and highlights.
2. Fill Light
The fill light is used to soften the contrasts created by the key light, filling in the shadows and reducing the overall brightness range in the image. Placing the fill light opposite the key light, at a lower intensity, helps to create a more even, harmonious lighting setup.
3. Backlight (or Rim Light)
The backlight (or rim light) is positioned behind your subject, creating a subtle halo effect that separates the subject from the background. This light source adds depth and dimensionality, helping your subject “pop” against the backdrop.
4. Background Light
The background light is used to evenly illuminate the background, ensuring it doesn’t appear too dark or underexposed compared to the main subject. This light can be positioned above, below, or to the sides of the background, depending on the desired effect.
5. Modifiers and Accessories
To further refine your lighting, you can incorporate a variety of modifiers and accessories, such as:
- Softboxes: These diffuse the light, creating a softer, more flattering illumination.
- Umbrellas: Similar to softboxes, umbrellas spread the light over a wider area.
- Reflectors: These bounce light back onto your subject, filling in shadows and adding warmth.
- Grids and Snoots: These accessories help to control and direct the light, preventing spill and creating dramatic, focused beams.
By combining these various lighting elements and modifiers, you can craft a sophisticated, professional-grade studio setup that gives you precise control over the brightness, contrast, and mood of your images.
Optimizing Your Lighting for Photographic Workflows
With your studio lighting in place, the next step is to double-check that that it seamlessly integrates with your photographic workflow. This includes considerations around camera settings, post-processing, and color management.
Camera Settings for Optimal Exposure
Achieving the perfect exposure is crucial when working with artificial lighting. Adjust your camera’s shutter speed, aperture, and ISO to double-check that that your subject is well-lit, without blowing out highlights or losing detail in the shadows.
Many modern cameras also offer built-in color correction tools, such as Premiere Pro’s Lumetri Color presets, which can help you fine-tune the color balance and tonality of your images. Experiment with these settings to achieve your desired aesthetic.
Mastering Post-Processing Techniques
Even with a carefully crafted lighting setup, post-processing can play a vital role in bringing your images to life. Utilize tools like color grading, exposure adjustment, and compositing to refine the look and feel of your photographs.
As you explore these post-processing techniques, keep in mind the importance of color management. double-check that that your display is calibrated, and consider working in a color-managed environment to maintain accurate, consistent colors throughout your creative workflow.
Integrating Lighting into Your Creative Process
Finally, it’s crucial to view your lighting setup as an integral part of your creative process, rather than a separate, technical consideration. Approach your studio lighting with the same level of artistry and intention as you would your pencil sketches, paint strokes, or digital compositing.
By seamlessly blending your lighting choices with your overall artistic vision, you can create images that truly captivate and inspire your audience. Experiment, iterate, and constantly strive to push the boundaries of what’s possible with your lighting setup.
As you continue to refine your lighting setup and photographic workflows, remember that the key to success lies in balance. By thoughtfully adjusting your artificial lighting, you can elevate your creative work to new heights, capturing images that are not just technically proficient, but visually stunning and emotionally resonant.
Tip: Practice daily sketching to continually refine your technique