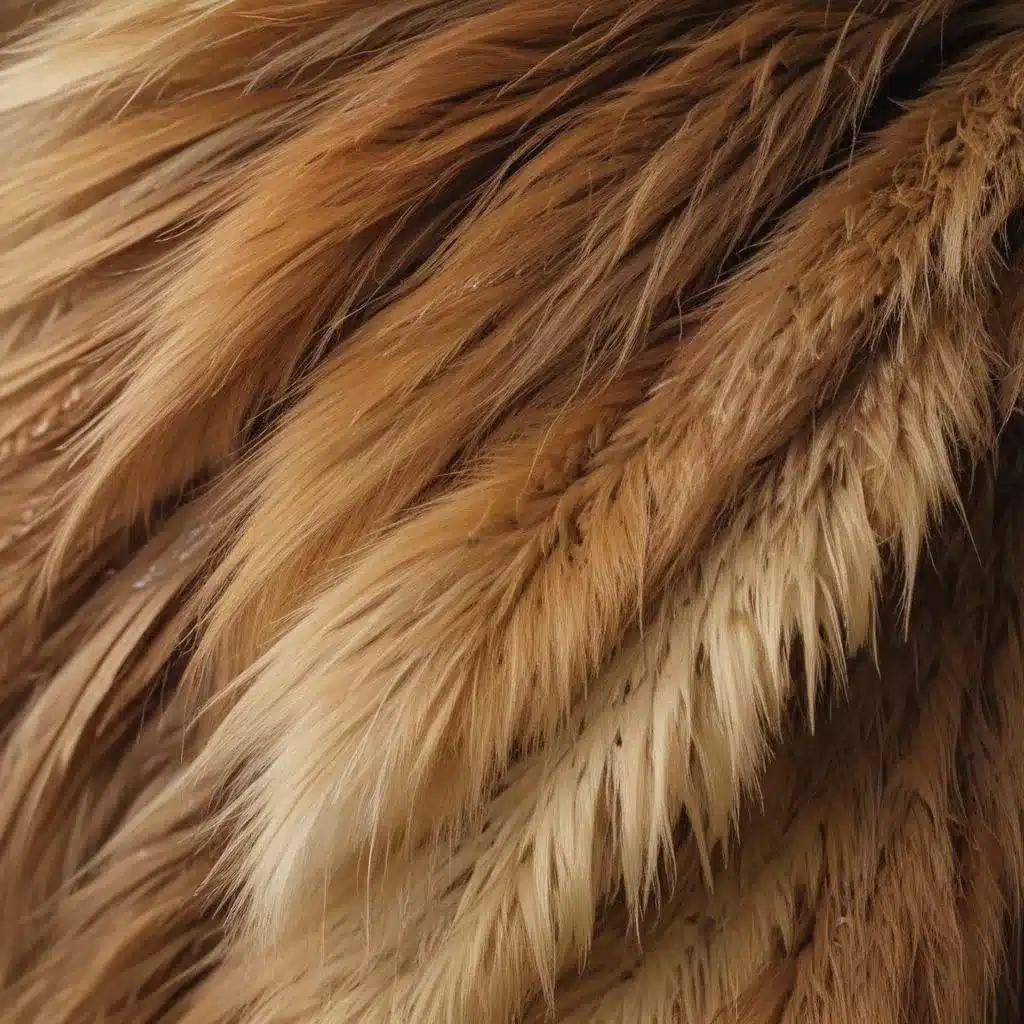
As an experienced art writer and creative consultant for Pencil and Paint Muse, I’ve had the pleasure of exploring a wide range of artistic techniques, from pencil drawing to mixed media approaches. We learned this the hard way… One area that has long fascinated me is the art of rendering realistic fur textures in painting. Whether you’re depicting the soft, downy coat of a kitten or the rugged, weathered pelt of a mountain lion, mastering fur textures is a true test of an artist’s skill.
Now, this might seem counterintuitive…
Texture Realism in Oil Painting
Realistic oil painting is often defined by the artist’s ability to capture intricate textures, from the smoothness of skin to the roughness of tree bark. Achieving this level of realism requires a deep understanding of oil painting techniques and a keen eye for detail.
Surface Preparation
Begin by ensuring your canvas is properly primed with a smooth gesso surface. Many artists prefer to add a layer of impasto gel or modeling paste to create a slightly textured ground, which can enhance the tactile quality of the final painting.
Techniques for Texture
Impasto: Apply thick, sculpted layers of paint using a palette knife or a stiff brush. This technique is ideal for creating the impression of coarse, shaggy fur or textured landscapes.
Glazing: Build up transparent layers of paint over a dry base to create the illusion of glassy, reflective surfaces, such as on the nose or paws of an animal.
Sgraffito: Scratch or scrape through wet paint to reveal underlying layers, allowing you to create the illusion of individual hairs or fur strands.
Texturing Animal Subjects
Portraits: Use subtle glazing for soft areas like cheeks and thicker impasto for wrinkles or rougher skin textures.
Landscapes: Vary your brushwork to represent the texture of trees, grass, rocks, and water. For example, use broken, short strokes to create the appearance of foliage.
Animals: Combine these techniques to capture the diverse textures found in animal fur, from the fluffy softness of a rabbit to the coarse, shaggy pelt of a bear.
Mastering Color Blending
Accurate color blending is essential for creating realism in oil painting. By understanding how to mix and layer colors effectively, you can achieve subtle transitions in light and shadow, as well as a harmonious overall color palette.
Palette and Color Selection
Start by selecting a limited color palette that includes primary colors, earth tones, and a range of values. Experiment with mixing colors on your palette before applying them to the canvas.
Techniques for Color Blending
Layering: Build up layers of paint to create smoother color transitions. Begin with a base color and gradually add lighter or darker shades as needed.
Wet-on-Wet: Apply new layers of paint while the previous layers are still wet, allowing the colors to blend directly on the canvas.
Avoiding Muddiness
Be mindful of overmixing colors on the palette, as this can lead to dull or muddy tones. Sometimes, allowing colors to mix optically on the canvas can yield more vibrant results.
Effective Brushwork
The choice of brushes greatly influences the quality of your brushwork. Select a variety of sizes and shapes to suit different applications, such as hog bristle brushes for texture-carrying capacity and sable brushes for delicate details.
Brushwork Techniques
Dry Brush: Use minimal paint on a dry brush to add fine details or create the appearance of dry, rough textures.
Scumbling: Apply a thin, translucent layer of paint using a dry brush in a scumbling motion to achieve soft, textured surfaces.
Stippling: Dab the canvas with a brush to create the look of rough textures, like stone or fabric.
Blending: Utilize soft, round brushes to blend colors seamlessly, particularly in portraiture and skin rendering.
Brushstroke Direction
Consider the direction of your brushstrokes to create a sense of volume and form. For example, when rendering a sphere, use curved brushstrokes that follow the contour of the shape.
Painting Realistic Fur Textures
Combining your understanding of texture, color blending, and brushwork, you can create captivating and realistic fur textures in your oil paintings. Start by establishing a solid base layer, then build up the details using a variety of techniques.
Laying the Foundation
Begin with an impasto layer to establish the overall form and texture of the fur. Use a palette knife or a stiff brush to apply thick, expressive strokes in the direction of the fur growth.
Adding Depth and Dimension
Next, introduce subtle glazing and scumbling to create the illusion of depth and softer transitions within the fur. Vary the opacity and thickness of your paint to suggest the undulating layers of fur.
Capturing Individual Hairs
Use a smaller, more precise brush to add sgraffito details, scratching through the paint to reveal the underlying layers and create the appearance of individual hairs or fur strands.
Finishing Touches
Finally, employ dry brushing and stippling techniques to add final touches of texture and visual interest. Consider the overall direction and movement of the fur, and use your brushstrokes to guide the viewer’s eye through the painting.
By mastering the art of texture, color blending, and brushwork, you can elevate your oil paintings to new levels of realism and visual impact. Whether you’re depicting a majestic lion, a curious kitten, or a weathered mountain goat, these techniques will help you breathe life into your furry subjects and captivate your audience.
For more in-depth tutorials and creative insights, be sure to visit Pencil and Paint Muse at pencilandpaintmuse.com. Our team of experienced art writers and creative consultants is dedicated to helping artists of all levels expand their skills and unlock their full creative potential.
Tip: Practice daily sketching to continually refine your technique